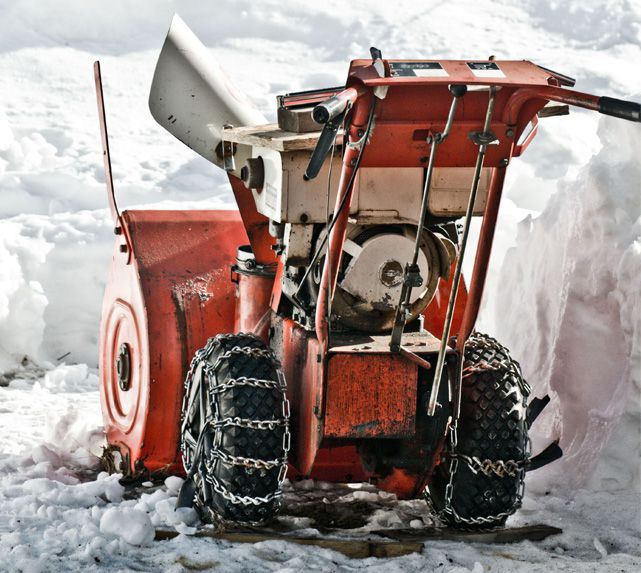
When it’s time to get your snow blower ready for winter, make sure you conduct a quick inspection if you want to prevent problems that could cause your snow blower to break down when it’s really not the time, especially when you need to clear the snow from your driveway. Ideally, you want to start with tightening all bolts and belts as well as changing the oil and gas. Then, simply refer to the owner’s manual for more information on your snow blower and its working parts.
1. Check and tighten all moving parts
For the first inspection of the season, it is important to tighten bolts, screws and belts to prevent them from getting loose. Additionally, it is strongly recommended that you replace any belts with cracks in them. It is preferable to change them right away rather than seeing a belt flying off as you’re clearing your driveway. Single-stage snow blowers come with one belt whereas two-stage snow blowers have two. Also, check all accessories, such as lights or the power steering, to make sure that they are in good working order.
2. Change the oil and gas
Before using your snow blower for the first time of the year, it is recommended to change the oil and gas. Simply add new fluid to get off to a good start for winter.
3. Inspect the tires
It is also important to check the air pressure in all tires and to inflate them to the correct pressure, if needed. Furthermore, you should inspect them more closely to make sure that they don’t show any sign of wear on the surface. If you want to put chains on your tires, now is the time to do it, or at the very least, make sure they are close at hand so that you are ready to proceed when you want to.
Please note that each snow blower model has its own features. It is recommended to consult the owner’s manual to know which parts it is made of, what are the parts that can be replaced and what type of oil and lubricants must be used with your model. The manual will allow you to avoid costly mistakes, both in terms of money and time.
